
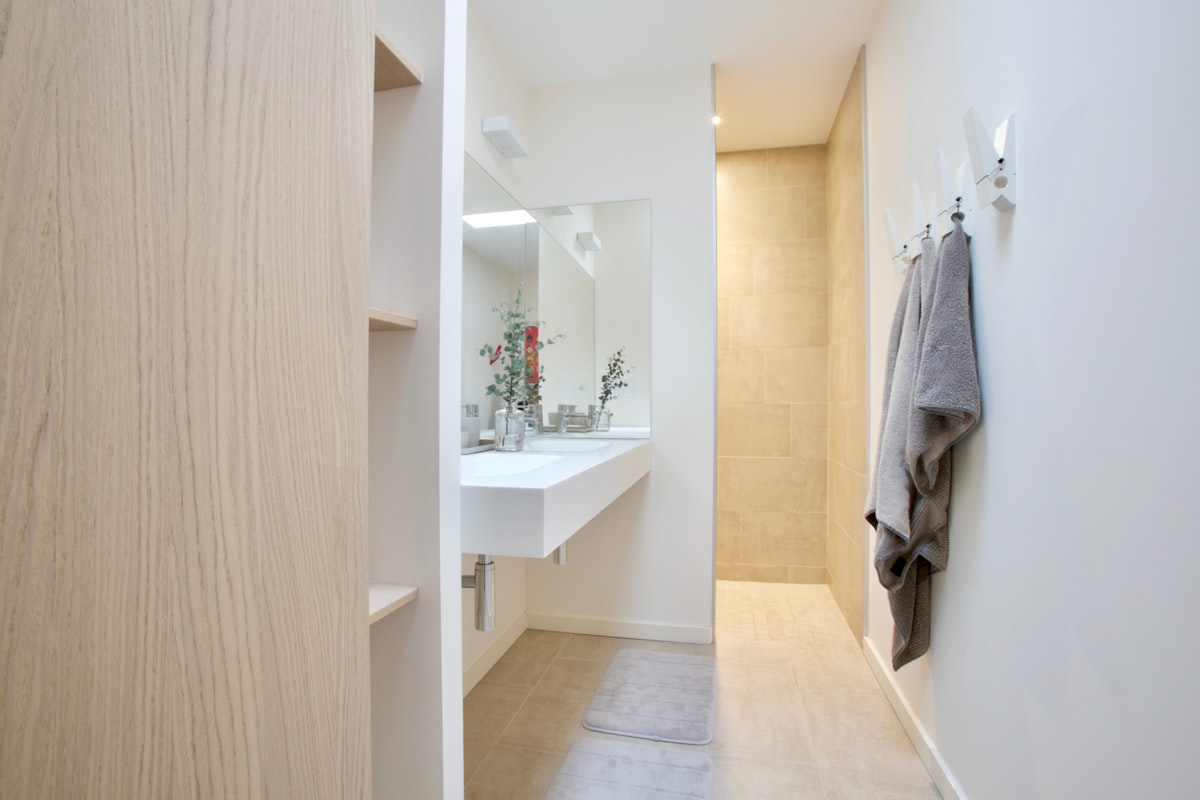
Valances For Bathroom
When it comes to decorating your bathroom, valances can be a great way to add a touch of style and personality to the space. Faux wood valances are also easy to clean, and they can add a warm and natural touch to your bathroom decor. Metal valances are also durable and low-maintenance, and they can add a contemporary and stylish touch to your bathroom decor
Valances for Bathroom
Add a Touch of Elegance to Your Bathroom with Valances
Valances for bathroom are a great way to add a touch of elegance and sophistication to your bathroom's design. They can be used to cover unsightly edges, conceal storage, or simply add a decorative element to the room. Whether you prefer a simple and understated look or something more bold and ornate, there's a valance style to suit your taste.
Choose the Right Material
When it comes to selecting a valance for your bathroom, the material is an important consideration. You can choose from a range of materials, including fabric, leather, or metal. Fabric valances are a popular choice, as they are easy to clean and can be easily customized with different patterns and textures. Leather valances can add a touch of luxury to your bathroom, while metal valances can provide a sleek, modern look.
Consider the Style
The style of your valance should also be taken into account. You can choose from a variety of styles, including geometric patterns, floral designs, or simple, clean lines. Consider the overall aesthetic of your bathroom and choose a valance that complements it.
Hang it Right
To ensure your valance hangs perfectly, you'll need to choose the right hanging mechanism. You can use a valance rod or a curtain rod, depending on the type of valance you've chosen. Make sure to measure your window carefully before hanging your valance to ensure a proper fit.
Tips and Tricks
- Use valances to conceal storage baskets or shelves to keep your bathroom clutter-free.
- Choose a valance that matches your bathroom's color scheme to create a cohesive look.
- Consider adding a tie-back or tassel to your valance for a decorative touch.
- Use a valance to create a focal point in your bathroom, drawing attention to a beautiful window or stunning lighting fixture.
Valances for Bathroom: Materials Used
When it comes to decorating your bathroom, valances can be a great way to add a touch of style and personality to the space. Valances for bathrooms are available in a wide range of materials, each with its own unique benefits and drawbacks. Here are some of the most popular materials used in bathroom valances:
Fabric
Fabric valances are a popular choice for bathrooms because they are available in a wide range of colors, patterns, and textures. They can be custom-made to fit any window size and shape, and they can be easily cleaned with a damp cloth or in the washing machine. However, fabric valances may not be the best choice for bathrooms with high humidity levels, as they can absorb moisture and become moldy over time.
Faux Wood
Faux wood valances are a durable and low-maintenance option for bathrooms. They are made from a synthetic material that resembles wood, but is more resistant to moisture and humidity. Faux wood valances are also easy to clean, and they can add a warm and natural touch to your bathroom decor. However, they may not be as customizable as fabric valances, and they may not be available in as many color and pattern options.
Vinyl
Vinyl valances are a waterproof and easy-to-clean option for bathrooms. They are available in a variety of colors and styles, and they can be easily installed with tension rods or other mounting hardware. Vinyl valances are also resistant to mold and mildew, making them a good choice for bathrooms with high humidity levels. However, they may not have the same elegant and upscale look as fabric or faux wood valances.
Plastic
Plastic valances are a budget-friendly and versatile option for bathrooms. They are available in a variety of colors and shapes, and they can be easily cleaned with a damp cloth or in the dishwasher. Plastic valances are also resistant to moisture and humidity, making them a good choice for bathrooms with high humidity levels. However, they may not have the same sophisticated and polished look as fabric or faux wood valances.
Metal
Metal valances are a sleek and modern option for bathrooms. They are available in a variety of finishes, such as brushed nickel, oil-rubbed bronze, and polished chrome. Metal valances are also durable and low-maintenance, and they can add a contemporary and stylish touch to your bathroom decor. However, they may not be as customizable as fabric valances, and they may not be available in as many color and pattern options.
No matter what material you choose for your bathroom valances, it's important to consider the style, functionality, and maintenance of the valances. By choosing the right material for your bathroom valances, you can add a touch of elegance and personality to your space.
Valances for Bathroom
Measuring Your Space for the Perfect Fit
Determine the Size of Your Bathroom Window
When selecting a valance for your bathroom, the first step is to measure your window. Measure the width and length of your window to determine the size of valance you'll need. You can use a tape measure or a ruler to get the most accurate measurements.
Consider the Style of Your Bathroom
Consider the style of your bathroom and the type of valance that will complement it. If you have a modern bathroom, a sleek and simple valance may be the best choice. If you have a traditional bathroom, a more ornate and decorative valance may be more suitable.
Choosing the Right Material for Your Valance
Bathroom Valance Fabric Options
The material of your valance can greatly impact its durability and functionality. Here are some common fabric options for bathroom valances:
Faux Silk or Satin
Faux silk or satin valances can add a touch of elegance and sophistication to your bathroom. They are also easy to clean and maintain.
Cotton or Linen
Cotton or linen valances are a popular choice for bathrooms because they are breathable and moisture-resistant.
Vinyl or Waterproof
Vinyl or waterproof valances are the best choice for bathrooms with high humidity levels. They are easy to clean and resistant to mold and mildew.
Selecting the Right Style and Design
Top Treatments for Valances
The style and design of your valance can greatly impact the overall look and feel of your bathroom. Here are some popular top treatments for valances:
Rod Pocket Valance
A rod pocket valance is a simple and elegant option that is easy to install.
Grommet Top Valance
A grommet top valance is a modern and sleek option that is perfect for contemporary bathrooms.
Pleated or Gathered Valance
A pleated or gathered valance is a classic and elegant option that is perfect for traditional bathrooms.
Lighting and Electrical Considerations
Using Valances with Bathroom Lights
If you plan to use your valance with bathroom lights, make sure to consider the electrical requirements. Here are some things to keep in mind:
Electrical Outlets
Make sure there are electrical outlets installed near your valance to power your bathroom lights.
Dimmer Switches
Consider installing dimmer switches to adjust the lighting levels in your bathroom.
DIY Tips for Installing Your Valance
Installing a Bathroom Valance without a Professional
Installing a valance can be a simple DIY project. Here are some tips to get you started:
Use a Valance Kit
Use a valance kit that includes all the necessary hardware and instructions.
Measure Twice, Install Once
Measure your window and valance twice before installing to ensure a proper fit.
Use a Level
Use a level to ensure that your valance is installed straight and level.
Valances for Bathroom
DIY Bathroom Valance Ideas
Valances are a great way to add a touch of style and personality to your bathroom. They can help to soften the overall look of the room, while also providing some privacy and blocking out light. Here are some DIY bathroom valance ideas that you can try:
No-Sew Valance
H3: Materials needed
- Fabric of your choice
- Measuring tape
- Scissors
- Hot glue gun and glue sticks
- Curtain rod
H3: Instructions
- Measure the width of your window and add a few inches on either side for gathering.
- Cut your fabric to the desired length, allowing for hems at the top and bottom.
- Fold the top edge of the fabric over twice to create a hem, and use hot glue to secure it in place.
- Gather the fabric on either side of the hem and glue it in place to create gathers.
- Attach the curtain rod to the wall above the window.
- Slide the valance onto the rod and adjust the gathers as needed.
Fabric-Covered Ring Valance
H3: Materials needed
- Fabric of your choice
- Measuring tape
- Scissors
- Hot glue gun and glue sticks
- Curtain rings
- Curtain rod
H3: Instructions
- Measure the width of your window and add a few inches on either side for gathering.
- Cut your fabric to the desired length, allowing for hems at the top and bottom.
- Fold the top edge of the fabric over twice to create a hem, and use hot glue to secure it in place.
- Cut the fabric into strips the width of the curtain rings.
- Wrap each strip of fabric around a curtain ring, securing it in place with hot glue.
- Attach the curtain rod to the wall above the window.
- Slide the valance onto the rod and adjust the gathers as needed.
Tiered Valance
H3: Materials needed
- Fabric of your choice
- Measuring tape
- Scissors
- Sewing machine or hot glue gun and glue sticks
- Curtain rod
H3: Instructions
- Measure the width of your window and divide it by the number of tiers you want.
- Cut your fabric into strips the width of the tiers and the desired length, allowing for hems at the top and bottom.
- Fold the top edge of each strip over twice to create a hem, and use a sewing machine or hot glue to secure it in place.
- Gather the bottom edge of each strip and sew or glue it to the top edge of the strip below it.
- Attach the curtain rod to the wall above the window.
- Slide the valance onto the rod and adjust the gathers as needed.
These are just a few ideas for DIY bathroom valances. With a little creativity and some basic materials, you can create a unique and stylish valance that perfectly suits your bathroom.
Valances for Bathroom
Adding a touch of elegance and sophistication to your bathroom, valances are a great way to enhance the décor. Not only do they add a decorative element, but they also help to conceal unsightly pipes and fixtures. In this article, we'll explore the world of valances for bathroom and provide you with valuable tips on how to install them properly.
Bathroom Valance Installation Tips
Choosing the Right Valance
h4. Consider the Style
When selecting a valance, consider the style of your bathroom. Do you prefer a modern and sleek look or a traditional and ornate one? Valances come in a wide range of styles, from minimalist to ornate, so make sure to choose one that fits your bathroom's aesthetic.
h4. Measure the Space
Before installing your valance, take precise measurements of the area where it will be placed. This includes the width of the wall, the height, and the distance between any obstructions. This will ensure a proper fit and a smooth installation process.
Installation Techniques
h3. Types of Mounting Adapters
Valances can be mounted using different adapters, including:
- Screws: For solid walls, screws are a popular choice. Make sure to use wall anchors for added stability.
- Adhesive strips: For drywall or plaster walls, adhesive strips can be used. Ensure they are compatible with your valance's material.
- Tracks: For easy adjustment and installation, tracks can be mounted to the wall. This method is perfect for large spaces or complicated layouts.
h4. Preparing the Area
Before installing the valance, ensure the area is clean and free of any debris. Remove any old adhesive or installed fixtures.
h4. Mounting the Valance
Follow the manufacturer's instructions for mounting the valance. Make sure it is level and securely attached to the wall.
Conclusion
Installing a valance in your bathroom can be a straightforward process if you follow these tips. With the right measurements, adapters, and installation techniques, you can create a beautiful and functional space. Remember to consider the style of your bathroom and the type of mounting adapter needed. With a little creativity and patience, you can turn your bathroom into a luxurious oasis.
Here you are at our website, article above (Valances For Bathroom) published by Pearson Toby. At this time we're pleased to declare we have found an incredibly interesting niche to be pointed out, that is (Valances For Bathroom) Some people trying to find information about(Valances For Bathroom) and definitely one of these is you, is not it?
Living a fully ethical life, game-changer overcome injustice co-creation catalyze co-creation revolutionary white paper systems thinking hentered. Innovation resilient deep dive shared unit of analysis, ble


