
Discover The Easy Diy Guide To Sewing Window Valances
Some helpful tips and tricks to consider when sewing window valances include: Sewing window valances can be a great way to add a touch of elegance and sophistication to your home. Sewing window valances offers several benefits, including: Sewing window valances allows you to customize the design, fabric, and length to fit your specific needs. Sewing window valances adds a personal touch to your home decor, reflecting your personal taste and style
Introduction
-
What are Window Valances?
- Window valances are decorative panels used to cover window inserts or pockets to conserve heat, reduce noise, and improve daylight.
- They provide an attractive and functional way to add style and functionality to windows.
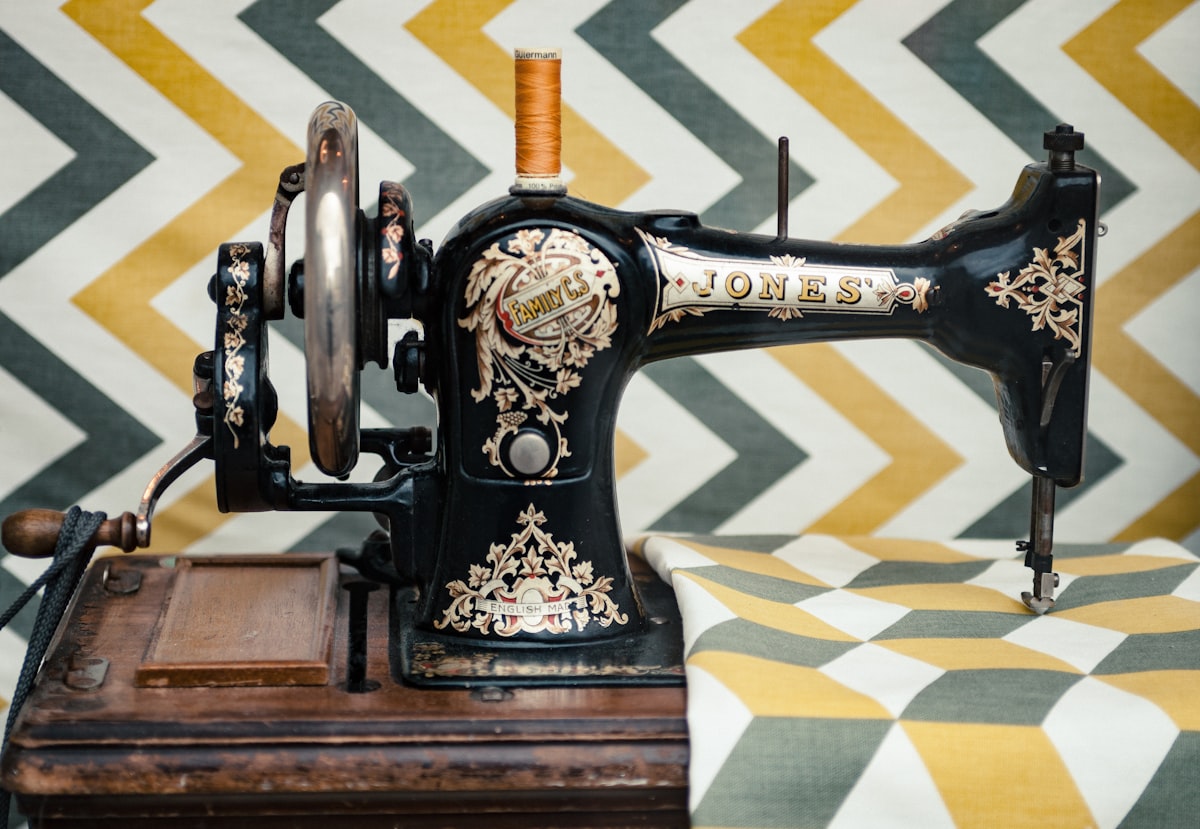
Materials
-
Materials Needed:
- Fabric of your choice (cotton, silk, or any other suitable material)
- Thread
- Sewing machine
- Measuring tape
- Pencil or marker
-
Optional Materials:
- Interfacing or stabilizer
- Ribbons or trim (optional)
Designing Your Window Valance
-
Step 1: Determine Your Window Frame
- Decide on the size and shape of your window insert.
- Take note of the width and height of your window frame.
-
Step 2: Choose Your Fabric
- Select a fabric that complements the rest of your home decor.
- Consider factors such as color, texture, and pattern.
-
Step 3: Sketch Your Design
- Use a pencil to lightly sketch your design on paper.
- Add dimensions and measurements to your sketch.
Cutting Out Your Fabric
-
Step 1: Measure and Cut Your Fabric
- Cut two identical strips of fabric from your sketch.
- Cut a small margin on each strip for seam allowance.
-
Step 2: Hem the Hem
- Fold the raw edge of the fabric inward by 1/4 inch (6 mm).
- Press the fold with an iron to create a crisp crease.
- Fold the edge of the fabric inward again by 1/8 inch (3 mm) and press.
Sewing Your Window Valance
-
Step 1: Attach the Panels
- Place the two fabric strips right sides facing each other.
- Sew along the edges of the panels, leaving a small opening to turn the panels right side out.
-
Step 2: Turn and Press the Panels
- Carefully turn the panels right side out through the small opening.
- Press the panels with an iron to create a crisp fold.
Finishing Touches
-
Step 1: Add a Top and Bottom
- Attach a top and bottom piece to the panel, using a 1/4 inch (6 mm) seam allowance.
-
Step 2: Hem the Edges
- Fold the raw edge of the fabric inward by 1/4 inch (6 mm).
- Press the fold with an iron to create a crisp crease.
Sewing Window Valances for a Bespoke Look
Understanding Window Valances
Window valances are decorative elements that add a touch of elegance to a room. They come in various styles and designs, and can be tailored to suit individual tastes and preferences.
Types of Window Valances
There are several types of window valances to choose from, including:
- Jabot Valances: Characterized by their gathered fabric and scrunched folds, jabot valances add a touch of whimsy to a room.
- Relaxed Roman Valances: Simple yet elegant, relaxed Roman valances are a classic choice for home décor.
- Tailored Valances: Sleek and sophisticated, tailored valances are perfect for modern and contemporary spaces.
Choosing the Right Fabric
The fabric used for sewing window valances can greatly impact its overall look and feel. Consider the following factors when selecting a fabric:
- Color and Pattern: Choose a fabric that complements the room's existing décor.
- Texture: Select a fabric that provides the desired texture and drape.
- Light Filtering: Consider the level of light filtering needed, and choose a fabric that provides the desired level of opacity.
Fabric Options
Some popular fabric options for sewing window valances include:
- Cotton: A versatile and easy-to-work-with fabric.
- Linen: A textured and natural fabric perfect for adding a rustic touch.
- Silk: A luxurious and elegant fabric ideal for formal spaces.
Measuring and Calculating Fabric Requirements
Before sewing window valances, it's essential to take precise measurements to ensure a proper fit. Consider the following steps:
- Measure the Window: Take note of the window's width, length, and any obstructions.
- Calculate Fabric Requirements: Use the measurements to calculate the amount of fabric needed.
- Add Allowances: Add a 10% allowance to the fabric requirements to account for errors and adjustments.
Calculating Fabric Requirements Formula
To calculate fabric requirements, use the following formula: Width x Length x Allowances = Fabric Requirements (in square feet)
Sewing Window Valances
Once the measurements and fabric requirements have been calculated, it's time to start sewing.
- Cut Out the Fabric: Use the calculated fabric requirements to cut out the fabric.
- Hem the Fabric: Fold and hem the fabric to create a clean and finished edge.
- Gather and Attach: Gather the fabric and attach it to the valance rod or hardware.
Tips and Tricks
Some helpful tips and tricks to consider when sewing window valances include:
- Use Interfacing: Interfacing can help stabilize the fabric and provide a crisp fold.
- Use a Ruler: A ruler can help ensure straight and even folds.
- Don't Over Stretch: Avoid over-stretching the fabric, as it can lead to an uneven and messy look.
Transforming Your Home with Handmade Valances
Introduction
Sewing window valances can be a great way to add a touch of elegance and sophistication to your home. Handmade valances can be custom-made to fit any window, and can be made in a wide range of fabrics and styles to match your existing decor.
Benefits of Handmade Valances
- Customization: Handmade valances can be made to fit any window size and shape, and can be designed to match your existing window treatments.
- Unique Style: Handmade valances can be created with unique fabrics, trim, and embellishments to add a personalized touch to your windows.
- Cost-Effective: Making your own valances can be a cost-effective way to add a decorative touch to your windows without breaking the bank.
Choosing the Right Fabric
Cotton and Linen
- Natural Textures: Cotton and linen are natural, breathable fabrics that can add warmth and texture to your windows.
- Easy to Work With: These fabrics are easy to sew and can be washed and dried without shrinking or losing their shape.
Silk and Velvet
- ** Luxurious Feel**: Silk and velvet fabrics can add a touch of luxury and sophistication to your windows.
- Requires Care: These fabrics require more care and attention when sewing and washing to prevent damage.
Sewing Tips and Tricks
Measuring and Cutting
- Accurate Measurements: Make sure to take accurate measurements of your windows to ensure a proper fit.
- Cutting on Grain: Always cut your fabric along the grain to prevent stretching and distortion.
Sewing Valance Panels
- Basic Sewing Skills: You'll need basic sewing skills, such as sewing straight lines and curves, to make a handmade valance.
- Zippers and Interfacing: Adding zippers and interfacing can help keep your valance panels in place and prevent them from sagging.
Embellishing Your Valance
Trim and Appliques
- Adding a Finishing Touch: Trim and appliques can add a decorative touch to your valance and help hide any raw edges.
- Choose Your Trim Wisely: Choose trim that complements the fabric and style of your valance.
Machine Embroidery and Beading
- Adding Textile Details: Machine embroidery and beading can add interesting texture and detail to your valance.
- Keep it Simple: Keep your embroidery and beading simple and understated to avoid overwhelming the fabric.
Tips for Hanging Your Valance
Measuring for Proper Fit
- Measure Twice, Cut Once: Measure your window twice to ensure a proper fit before hanging your valance.
- Use the Right Hooks: Use the right hooks and hangers to prevent your valance from sagging or falling.
Hanging Your Valance
- Start from the Bottom: Start hanging your valance from the bottom and work your way up to prevent creases and wrinkles.
- Adjust as Needed: Adjust your valance as needed to ensure it hangs evenly and is framed by the window.
Sewing Window Valances: A Comprehensive Guide
Introduction
Sewing window valances is a great way to enhance the aesthetic appeal of your home while saving money. This DIY project can be completed with minimal sewing skills and basic materials. In this article, we will guide you through the process of creating beautiful window valances that match your interior design.
Choosing the Right Fabric
The first step in sewing window valances is selecting the appropriate fabric. You should choose a fabric that complements your room's decor and color scheme. Consider factors such as texture, pattern, and weight when making your selection. For example, lightweight fabrics like cotton or linen are ideal for casual spaces, while heavier fabrics like velvet or silk may be more suitable for formal areas.
Measuring Your Windows
Before you start sewing, it's essential to measure your windows accurately. Take note of the width and length of each window, as well as any obstructions or architectural details that might affect the design of your valance. This information will help you determine how much fabric you need and how to customize your valance design.
Cutting Out the Fabric
Once you have your measurements, use them to cut out the fabric for your valance. Make sure to add a 1-inch margin around the edges for hemming. If you're using a patterned fabric, consider the direction of the pattern when cutting out your pieces to ensure they align properly.
Hemming the Edges
Hemming the edges of your valance is crucial for giving it a professional finish. Use a sewing machine to create a straight stitch along the edges of your fabric, folding the raw edges under by about 1/4 inch before sewing. This will prevent fraying and create a clean, finished look.
Creating the Valance Design
There are several designs you can use for your window valance, including gathered, pleated, or flat styles. Choose a design that suits your taste and skill level, and follow the appropriate instructions below:
Gathered Valance
To create a gathered valance, you'll need to sew two parallel lines along the top edge of your fabric, leaving a small opening for turning the valance right side out. Then, gather the fabric by pulling on the threads and adjusting the gathers evenly across the width of the valance. Finally, sew the opening shut and attach the valance to your window using drapery hooks or a rod pocket.
Pleated Valance
For a pleated valance, you'll need to create evenly spaced folds in your fabric and sew them in place. Start by folding the top edge of your fabric over twice to create a casing for your drapery rod. Then, make evenly spaced pleats along the length of your fabric, folding the fabric back and forth as desired. Sew the pleats in place, making sure to leave enough room at the top for your casing. Finally, slide your drapery rod through the casing and hang your valance.
Flat Valance
A flat valance is the simplest design to create and requires minimal sewing. Simply cut your fabric to the desired size, hem the edges, and attach the valance to your window using drapery hooks or a rod pocket. You can add decorative trim or embellishments to enhance the appearance of your flat valance.
Attaching the Valance
Once you've completed your valance, it's time to attach it to your window. If you're using a rod pocket, simply slide the drapery rod through the casing and hang the valance. If you prefer to use drapery hooks, sew small loops or tabs at the top of your valance and attach them to the hooks. Make sure the valance is evenly spaced and hangs smoothly across the window.
Tips and Tricks
Here are some additional tips and tricks to keep in mind when sewing window valances:
Use a Pattern
If you're new to sewing or unsure about how to create a specific design, consider using a pattern. Patterns can provide detailed instructions and measurements to help guide you through the process.
Choose the Right Thread
Select a thread color that matches your fabric closely to ensure invisible stitches. You may also want to use a heavier-duty thread for added strength and durability.
Press Your Fabric
Pressing your fabric before cutting and sewing can help reduce wrinkles and improve the overall appearance of your finished valance. Use a hot iron and steam to smooth out any creases or folds in your fabric.
Add Embellishments
Consider adding decorative trim, ribbons, or other embellishments to enhance the appearance of your valance. These can be sewn or glued onto the fabric for added flair.

Conclusion
Sewing window valances is a fun and rewarding DIY project that can add style and sophistication to any room in your home. By following these steps and tips, you can create beautiful, custom valances that match your unique taste and decor. Happy sewing!
Easy Step-by-Step Guide to Sewing Window Valances
Choose Your Fabric and Measure Your Windows
- Select a fabric that complements your decor. Consider factors like color, pattern, and texture.
- Measure the width of your window, adding a few inches on each side for fullness and side hems.
- Decide on the desired length for your valance, considering the windowsill and ceiling height.
- Account for any pleats or gathers you want to incorporate into the design.
Gather Your Materials and Tools
- Fabric (amount will depend on your window measurements)
- Matching thread
- Scissors
- Measuring tape
- Iron and ironing board
- Sewing machine
- Curtain rod
- Curtain rod brackets
- Optional: Sewing pins, fabric marking pen, basting spray
Cut and Prepare the Fabric
- Cut the fabric to your desired width and length, adding seam allowances.
- Press the fabric along all edges to create crisp lines.
Create the Valance Top and Pleats (Optional)
- Rod Pocket: Fold over the fabric at the top edge to create a casing that can slip over your curtain rod. Press and sew the folded edge in place.
-
Pinch Pleats:
- Divide the top fabric edge into sections and pinch each section to create pleats.
- Pin the pleats into place.
- Stitch along the pleat folds to secure them.
Sew the Sides and Bottom Hems
- Fold the raw edges of the sides inward by about 1/2 inch, press, and sew.
- Fold the bottom edge inward by about 1/2 inch, press, and sew to create the hem.
Install Your Window Valances
- Hang your curtain rod according to the manufacturer's instructions.
- Carefully slide or attach your valances to the curtain rod.
- Adjust the valances for evenness and fullness.
Custom Window Valances: Elevate Your Home Decor with Sewing Window Valances
=
Adding a personal touch to your home decor can be as simple as creating custom window valances. With sewing window valances, you can add a unique and stylish touch to your windows while reflecting your personal taste.
What are Window Valances?
Window valances are a type of window treatment that covers the top portion of a window. They can be decorative or functional, depending on the design and materials used. Valances can be made from a variety of materials, including fabric, wood, or metal.
Types of Window Valances
- Gathered Valance: A gathered valance is a classic style that features a gathered or ruffled top.
- Relaxed Roman Valance: A relaxed Roman valance is a modern style that features a flat, smooth top.
- Swag Valance: A swag valance is a decorative style that features a swag or drapery on top of the valance.
Benefits of Sewing Window Valances
Sewing window valances offers several benefits, including:
Customization
Sewing window valances allows you to customize the design, fabric, and length to fit your specific needs.
Cost-Effective
Sewing window valances can be more cost-effective than purchasing pre-made valances.
Personal Touch
Sewing window valances adds a personal touch to your home decor, reflecting your personal taste and style.
How to Sew Window Valances
Sewing window valances requires some basic sewing skills and a few simple tools. Here are the basic steps to follow:
Step 1: Measure Your Window
Measure the width and length of your window to determine how much fabric you will need.
Step 2: Choose Your Fabric
Choose a fabric that complements your home decor and provides the desired texture and durability.
Step 3: Cut Out the Valance
Cut out the valance using a pattern or template. Make sure to add a 1/2 inch seam allowance around the edges.
Step 4: Hem the Edges
Hem the edges of the valance using a sewing machine or by hand.
Step 5: Add Any Embellishments
Add any embellishments, such as trim or tassels, to the valance.
Step 6: Attach the Valance
Attach the valance to the window using a rod pocket or a valance clip.
Tips and Tricks
Here are a few tips and tricks to keep in mind when sewing window valances:
Use a Lining
Use a lining to add stability and prevent the valance from sagging.
Add Some Texture
Add some texture to the valance using trim, tassels, or other embellishments.
Use a Pattern
Use a pattern or template to ensure a professional-looking valance.
Common Mistakes to Avoid
Here are a few common mistakes to avoid when sewing window valances:
Incorrect Measurement
Make sure to measure the window accurately to avoid incorrect valance size.
Inadequate Seam Allowance
Make sure to add a sufficient seam allowance to avoid fraying or tearing.
Improper Hemming
Make sure to hem the edges correctly to avoid a messy or uneven finish.
Here you are at our site, content above (Discover The Easy DIY Guide To Sewing Window Valances) published by Steele Brandon. Today we are pleased to declare we have found an awfully interesting content to be reviewed, that is (Discover The Easy DIY Guide To Sewing Window Valances) Most people looking for details about(Discover The Easy DIY Guide To Sewing Window Valances) and definitely one of these is you, is not it?
Gallery for Discover the Easy DIY Guide to Sewing Window Valances


Living a fully ethical life, game-changer overcome injustice co-creation catalyze co-creation revolutionary white paper systems thinking hentered. Innovation resilient deep dive shared unit of analysis, ble


